Blending a texture layer into your photograph is a really good way to make your images more creative.
Adding textured layers in an image.
Before starting, produce a collection of textured images. This can be anything from images of bricks, stones, cloudy sky, grass etc.
.png)
Before starting, produce a collection of textured images. This can be anything from images of bricks, stones, cloudy sky, grass etc.
.png)

Start with an image that preferably has a plain background. I have used my bracelet in this image.
.png)
In Photoshop open the image along with your first texture image.
Using the move tool, drag the texture layer over the image.
.png)
The two images do not match in size, so to enlarge the top image, go to Edit and Free transform (Ctrl + T) Then drag the image to cover the image below it. Press enter to lock the two images together.
.png)
The two layers locked together -
Next, using the layers section on the bottom right of the screen, click on the 'normal' tab and that will give different style options that will blend the image.
Soft light:
.png)
Now changing the opacity and fill to enhance the background textures:
.png)
I have changed both the opacity and fill to 100%, but do not like the lines that have blended into the stone. So to remove this i will use the eraser tool.
.png)
You can still see a hint of colour in the back ground, but the stone looks clear.
Keep adding different texture layers using the instructions above, until you are happy with the image.

Other images I have created using textured layers


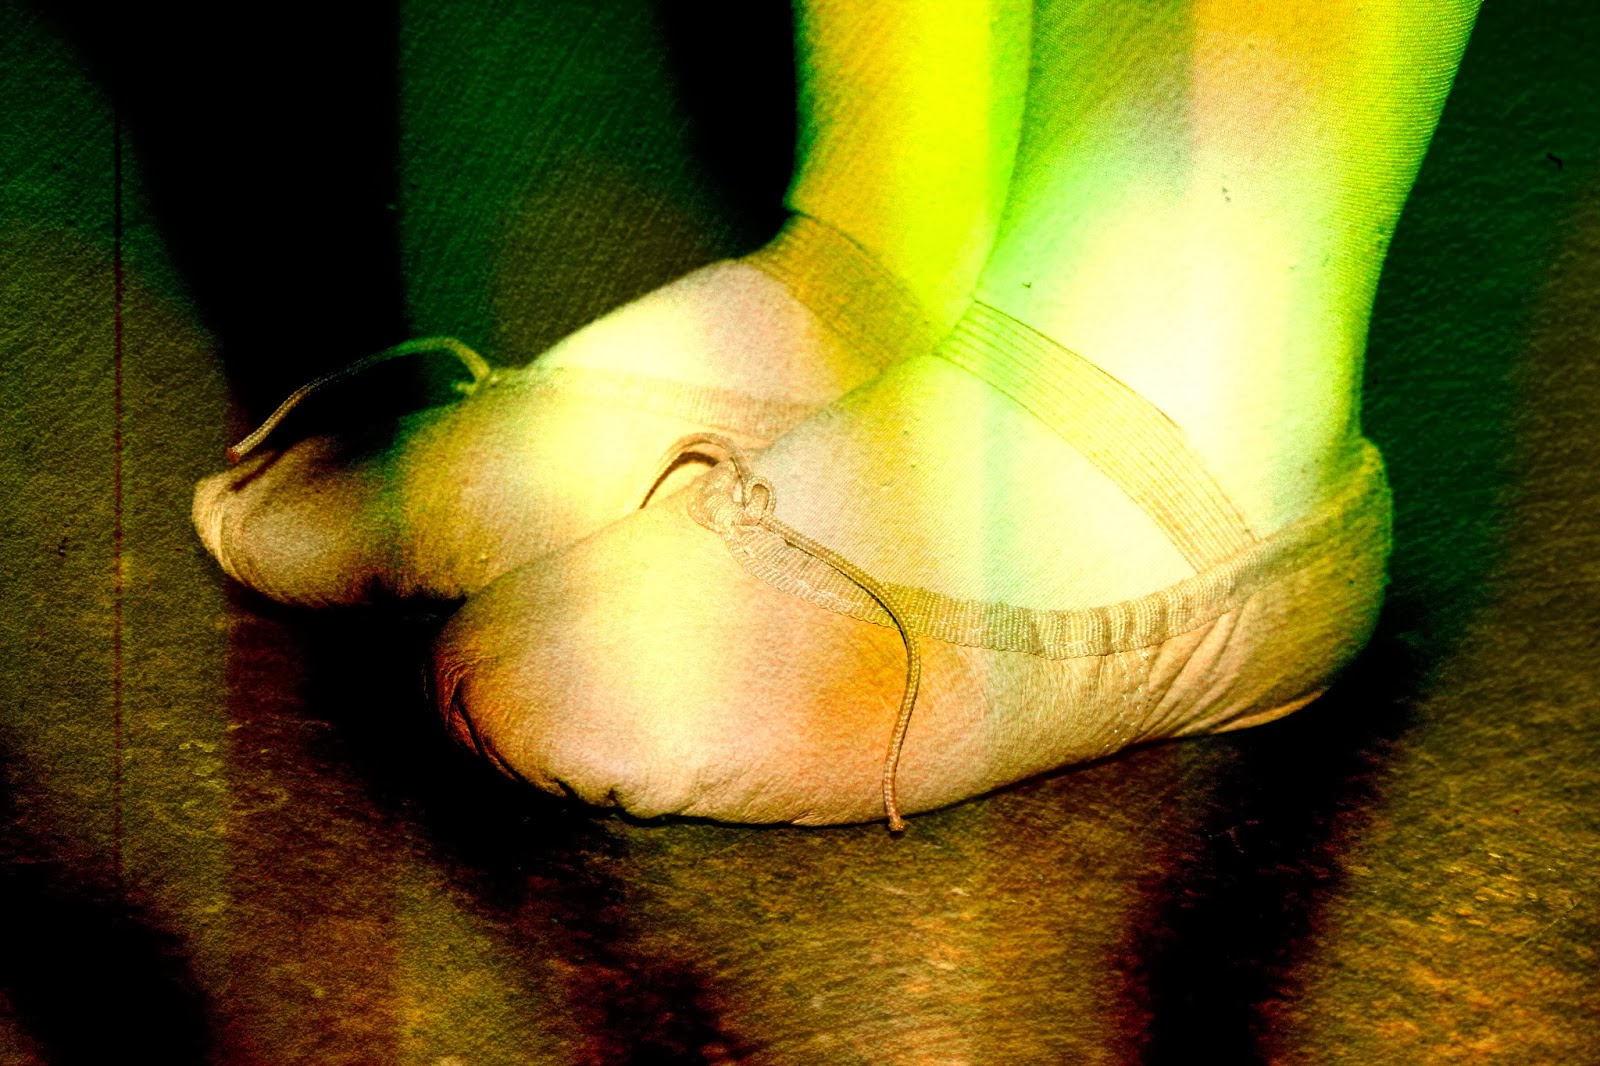
The photograph above is the original image I started with. The image to the right is exactly the same, but with textured layers added to it. I have added the original photograph to the blog so you can see how using textured layers can completely transform an image, giving it a totally different look and feel.
A very good post Nic, well presented and concise.
ReplyDelete